Contributing to Supervision 🛠️
Thank you for your interest in contributing to Supervision!
We are actively improving this library to reduce the amount of work you need to do to solve common computer vision problems.
Code of Conduct
Please read and adhere to our Code of Conduct. This document outlines the expected behavior for all participants in our project.
Table of Contents
- Contribution Guidelines
- How to Contribute Changes
- Installation for Contributors
- Code Style and Quality
- Documentation
- Cookbooks
- Tests
- License
Contribution Guidelines
We welcome contributions to:
- Add a new feature to the library (guidance below).
- Improve our documentation and add examples to make it clear how to leverage the supervision library.
- Report bugs and issues in the project.
- Submit a request for a new feature.
- Improve our test coverage.
Contributing Features ✨
Supervision is designed to provide generic utilities to solve problems. Thus, we focus on contributions that can have an impact on a wide range of projects.
For example, counting objects that cross a line anywhere on an image is a common problem in computer vision, but counting objects that cross a line 75% of the way through is less useful.
Before you contribute a new feature, consider submitting an Issue to discuss the feature so the community can weigh in and assist.
How to Contribute Changes
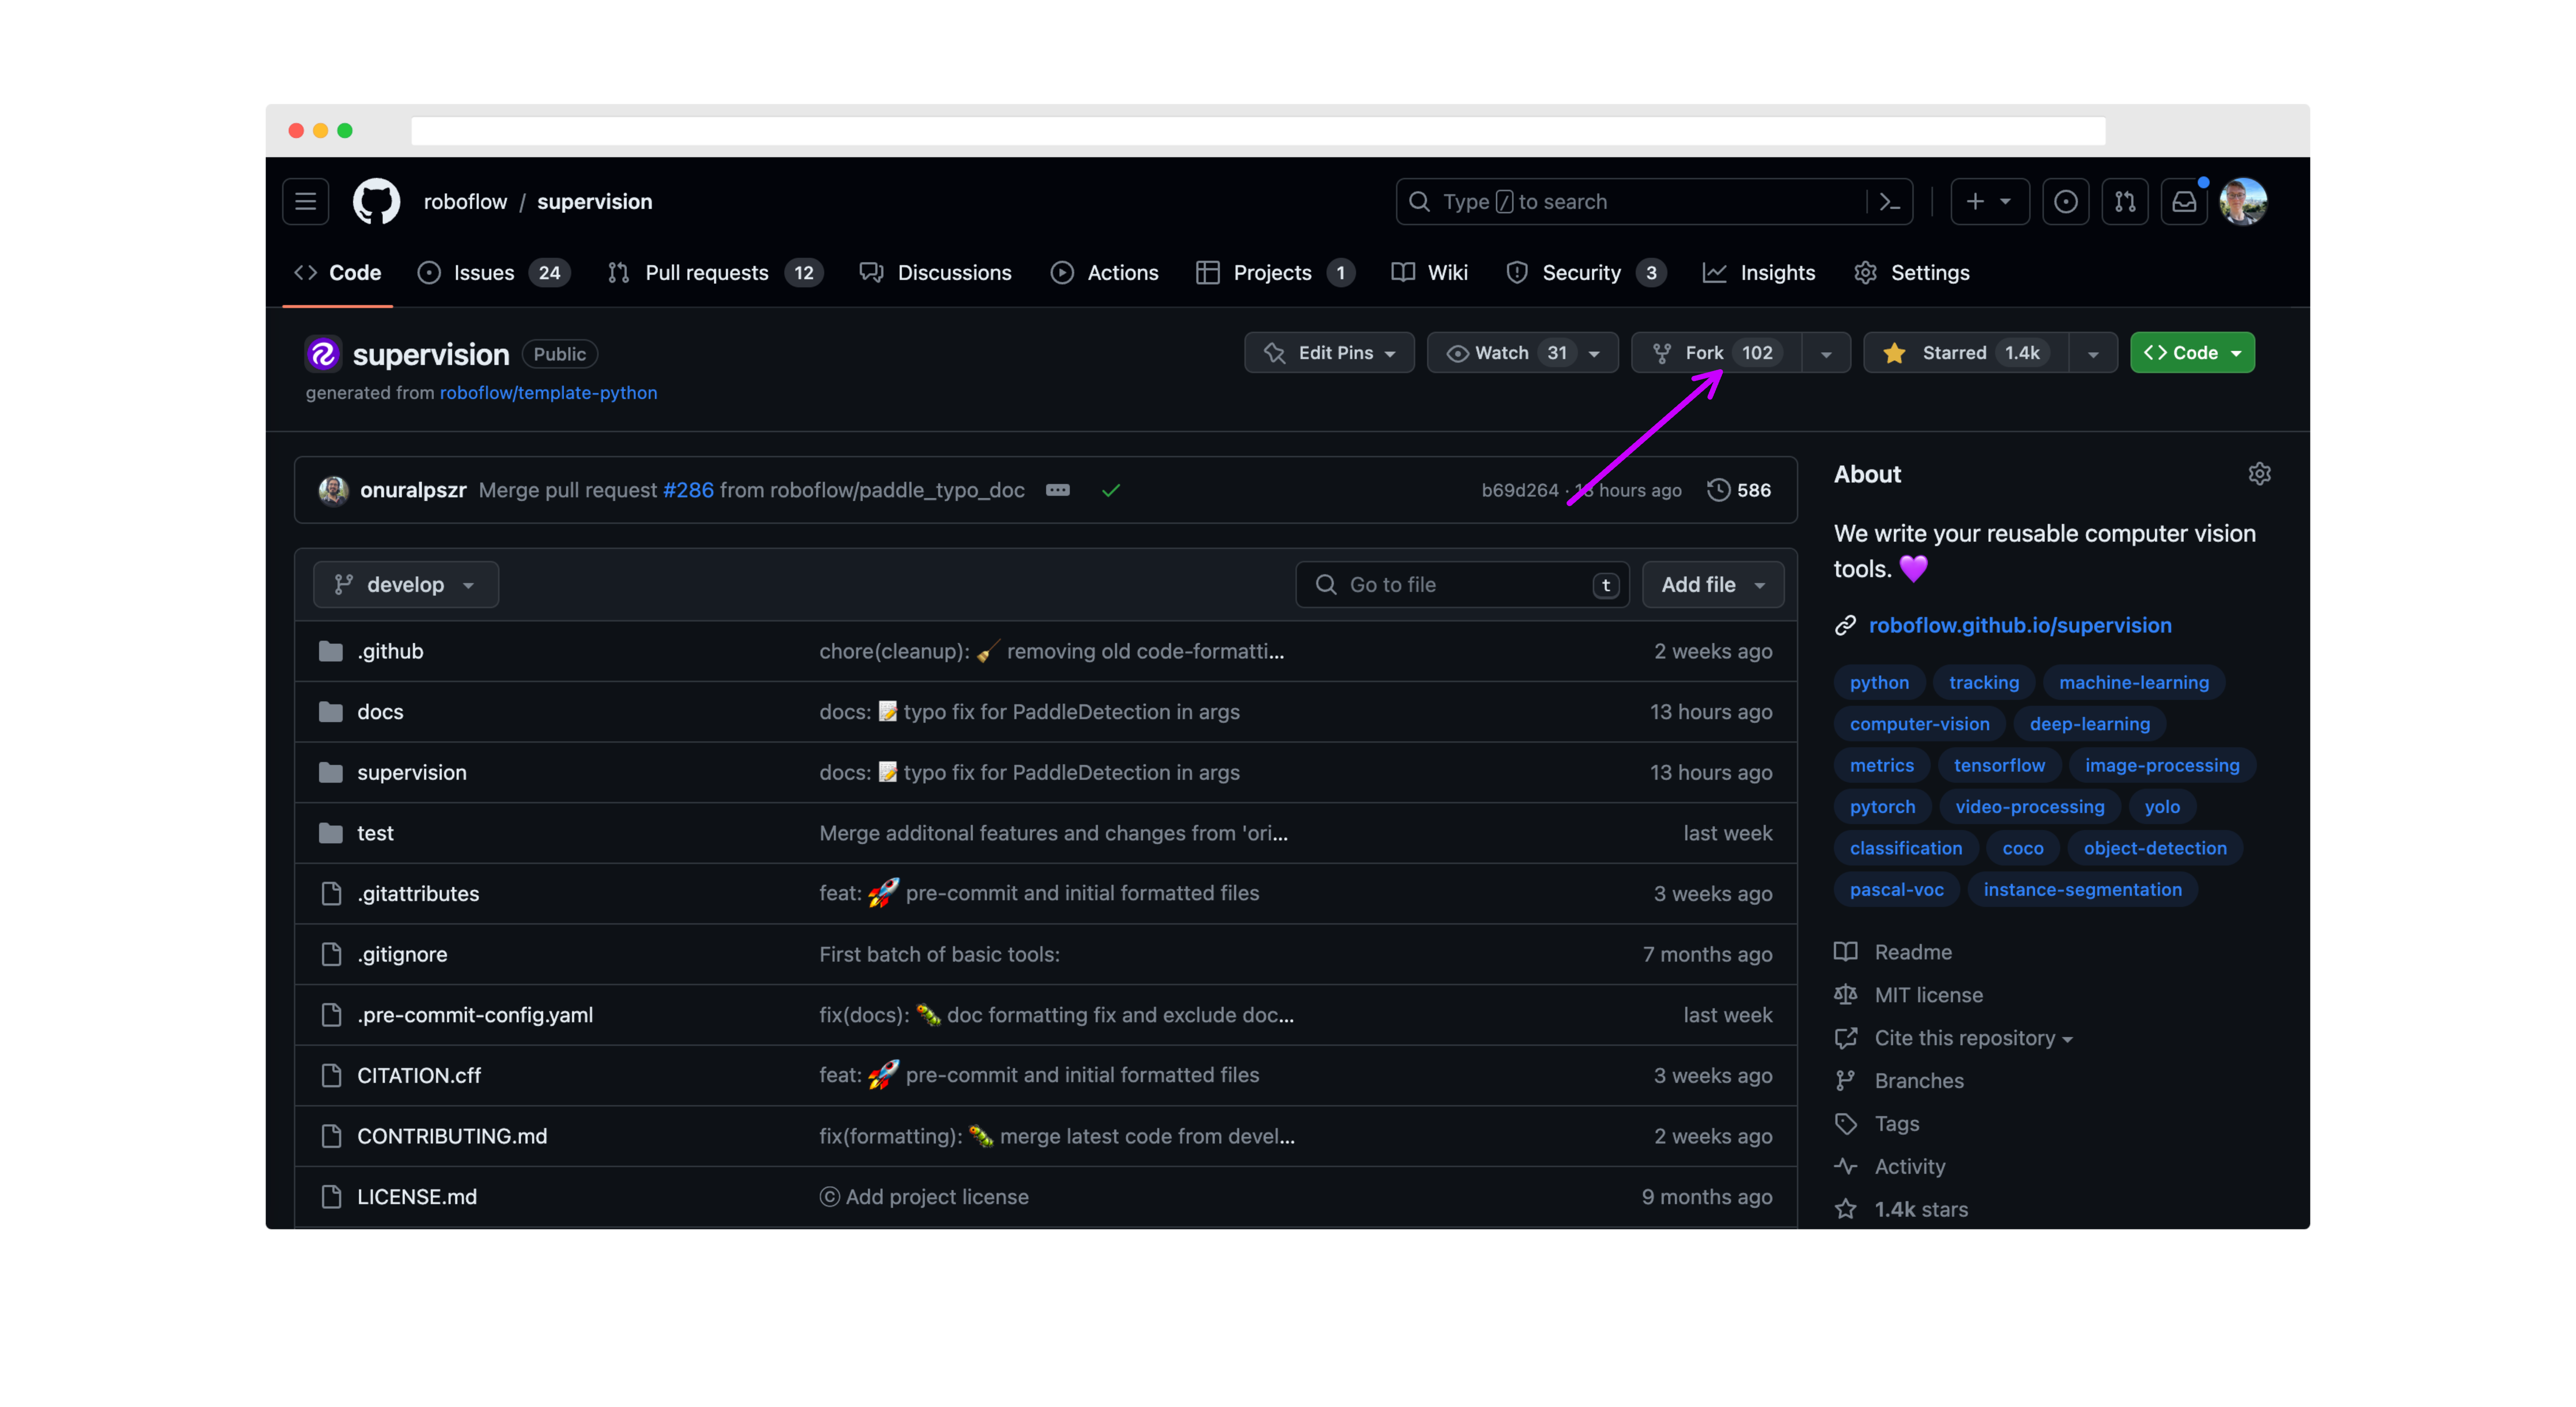
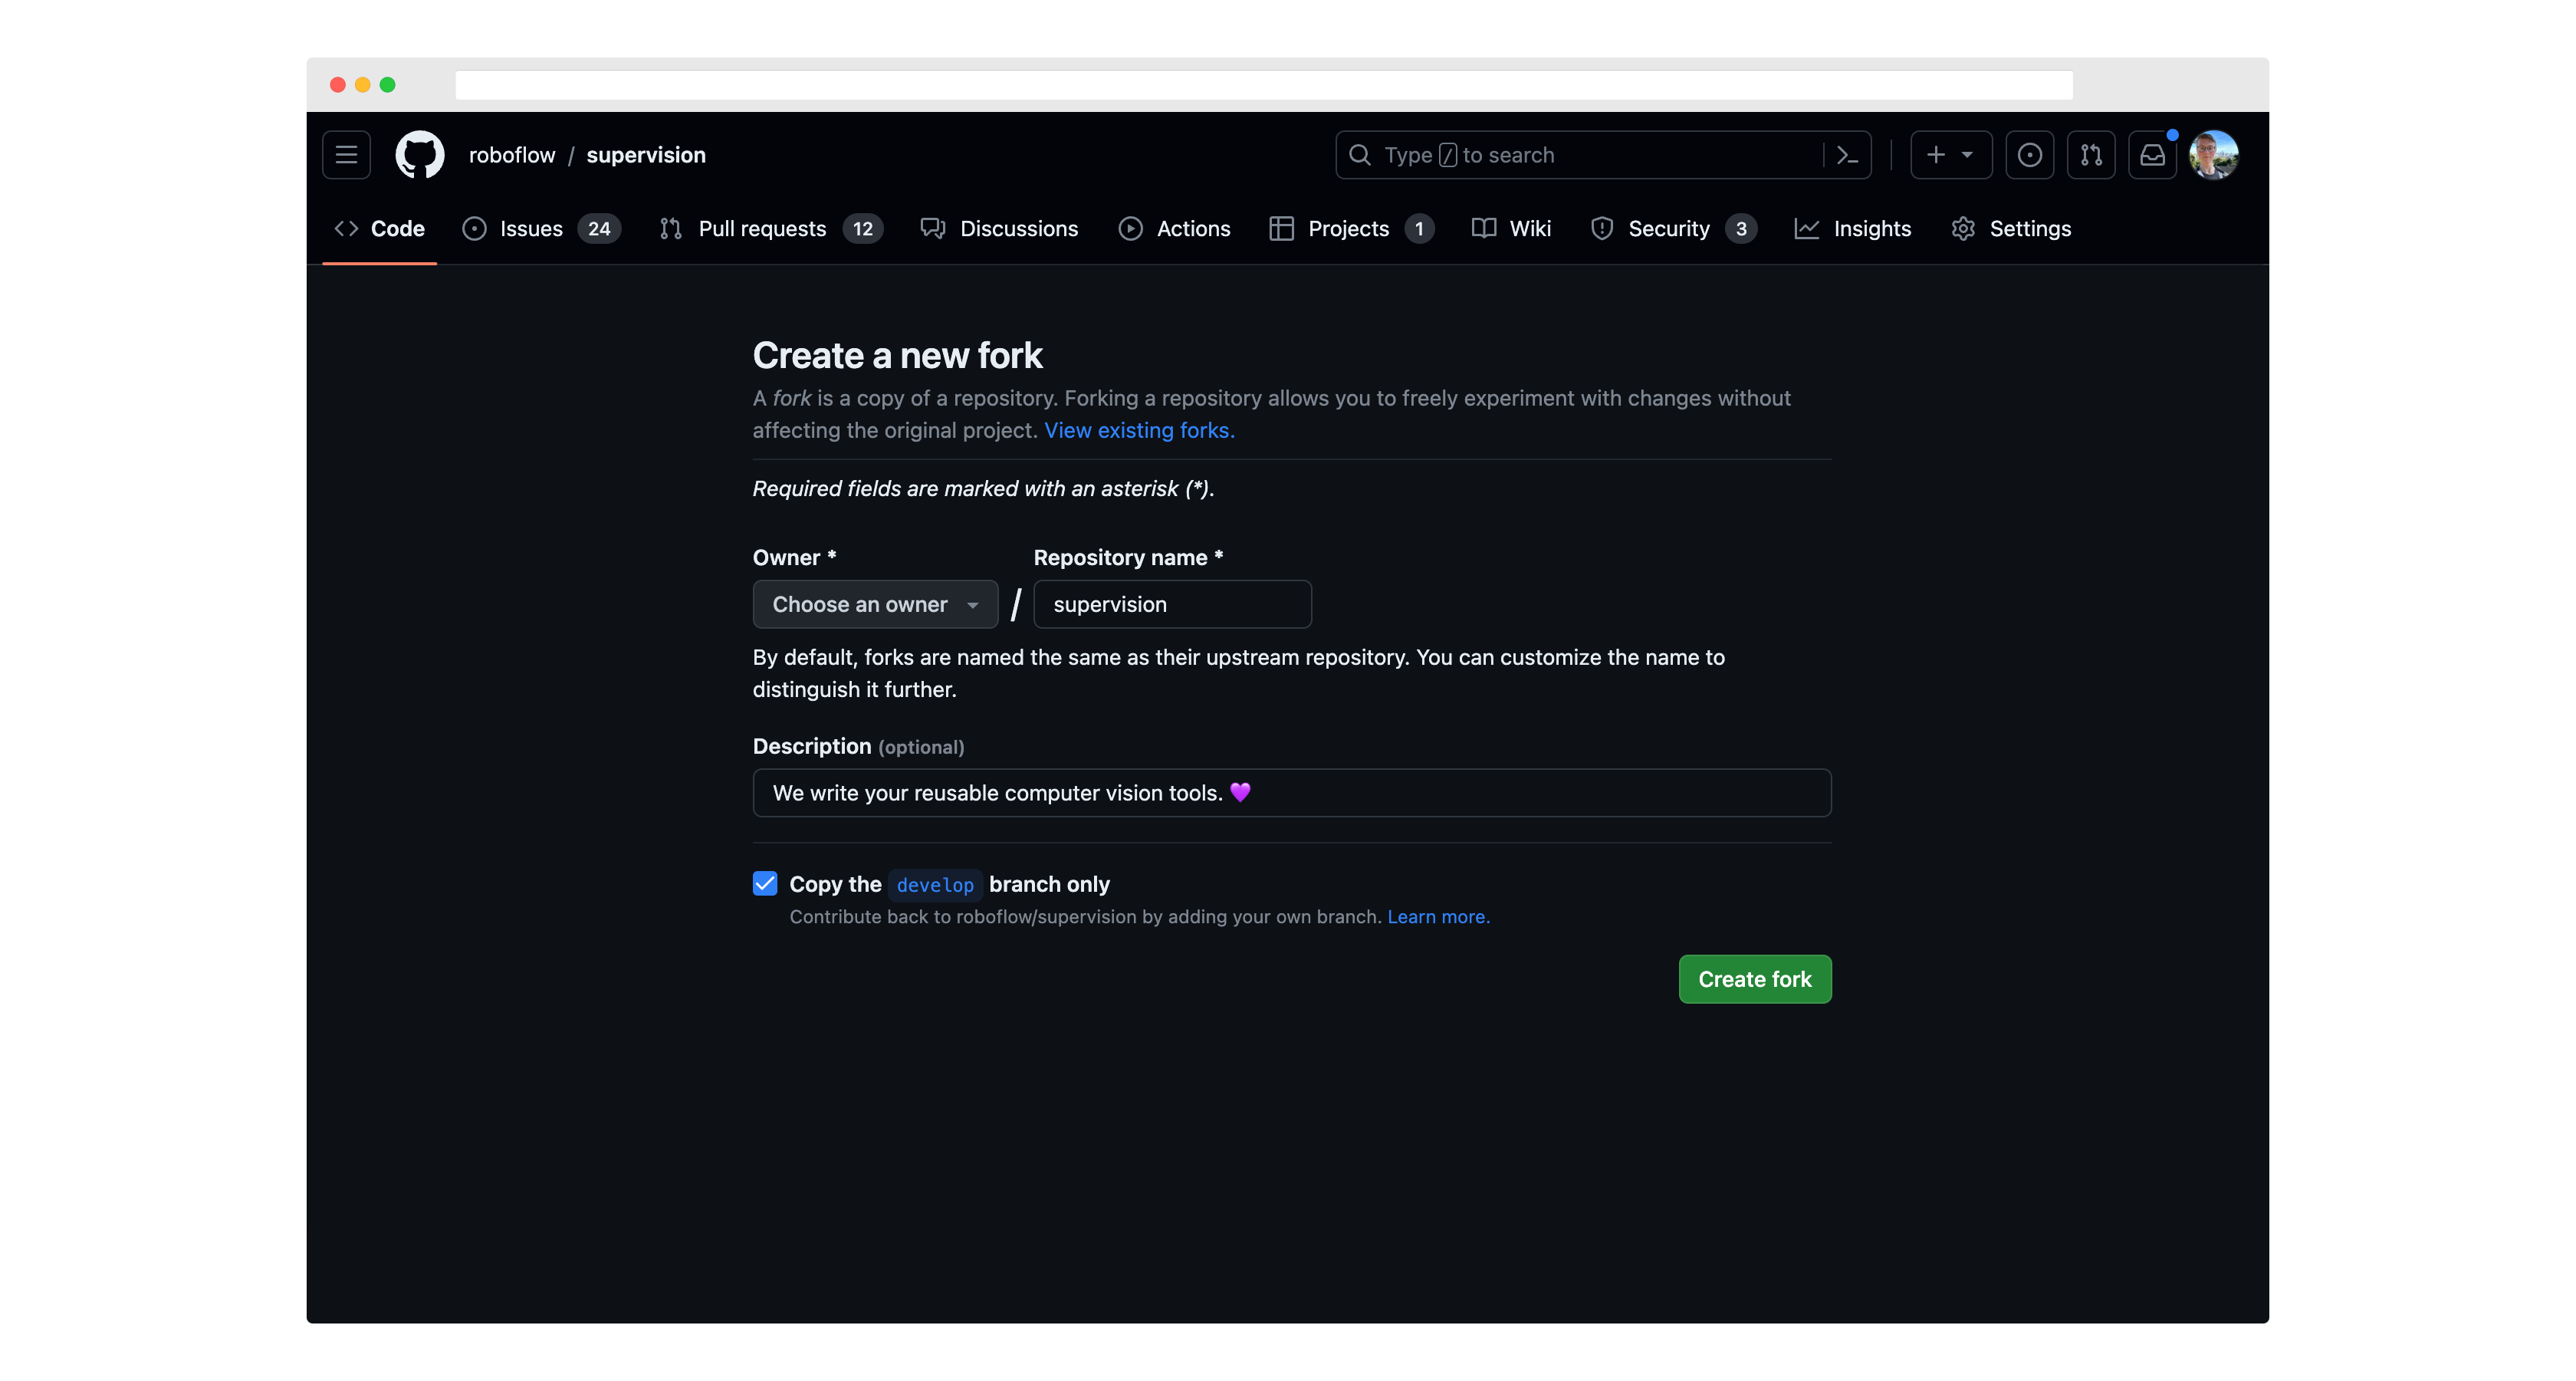
First, fork this repository to your own GitHub account. Click "fork" in the top corner of the supervision repository to get started:
Then, run git clone to download the project code to your computer.
You should also set up roboflow/supervision as an "upstream" remote (that is, tell git that the reference Supervision repository was the source of your fork of it):
Move to a new branch using the git checkout command:
The name you choose for your branch should describe the change you want to make and start with an appropriate prefix:
feat/: for new features (e.g.,feat/line-counter)fix/: for bug fixes (e.g.,fix/memory-leak)docs/: for documentation changes (e.g.,docs/update-readme)chore/: for routine tasks, maintenance, or tooling changes (e.g.,chore/update-dependencies)test/: for adding or modifying tests (e.g.,test/add-unit-tests)refactor/: for code refactoring (e.g.,refactor/simplify-algorithm)
Make any changes you want to the project code, then run the following commands to commit your changes:
git add -A
git commit -m "feat: add line counter functionality"
git push -u origin <your_branch_name>
Use conventional commit messages to clearly describe your changes. The format is:
Common types include:
- feat: A new feature
- fix: A bug fix
- docs: Documentation only changes
- style: Changes that do not affect the meaning of the code (white-space, formatting, etc)
- refactor: A code change that neither fixes a bug nor adds a feature
- perf: A code change that improves performance
- test: Adding missing tests or correcting existing tests
- chore: Changes to the build process or auxiliary tools and libraries
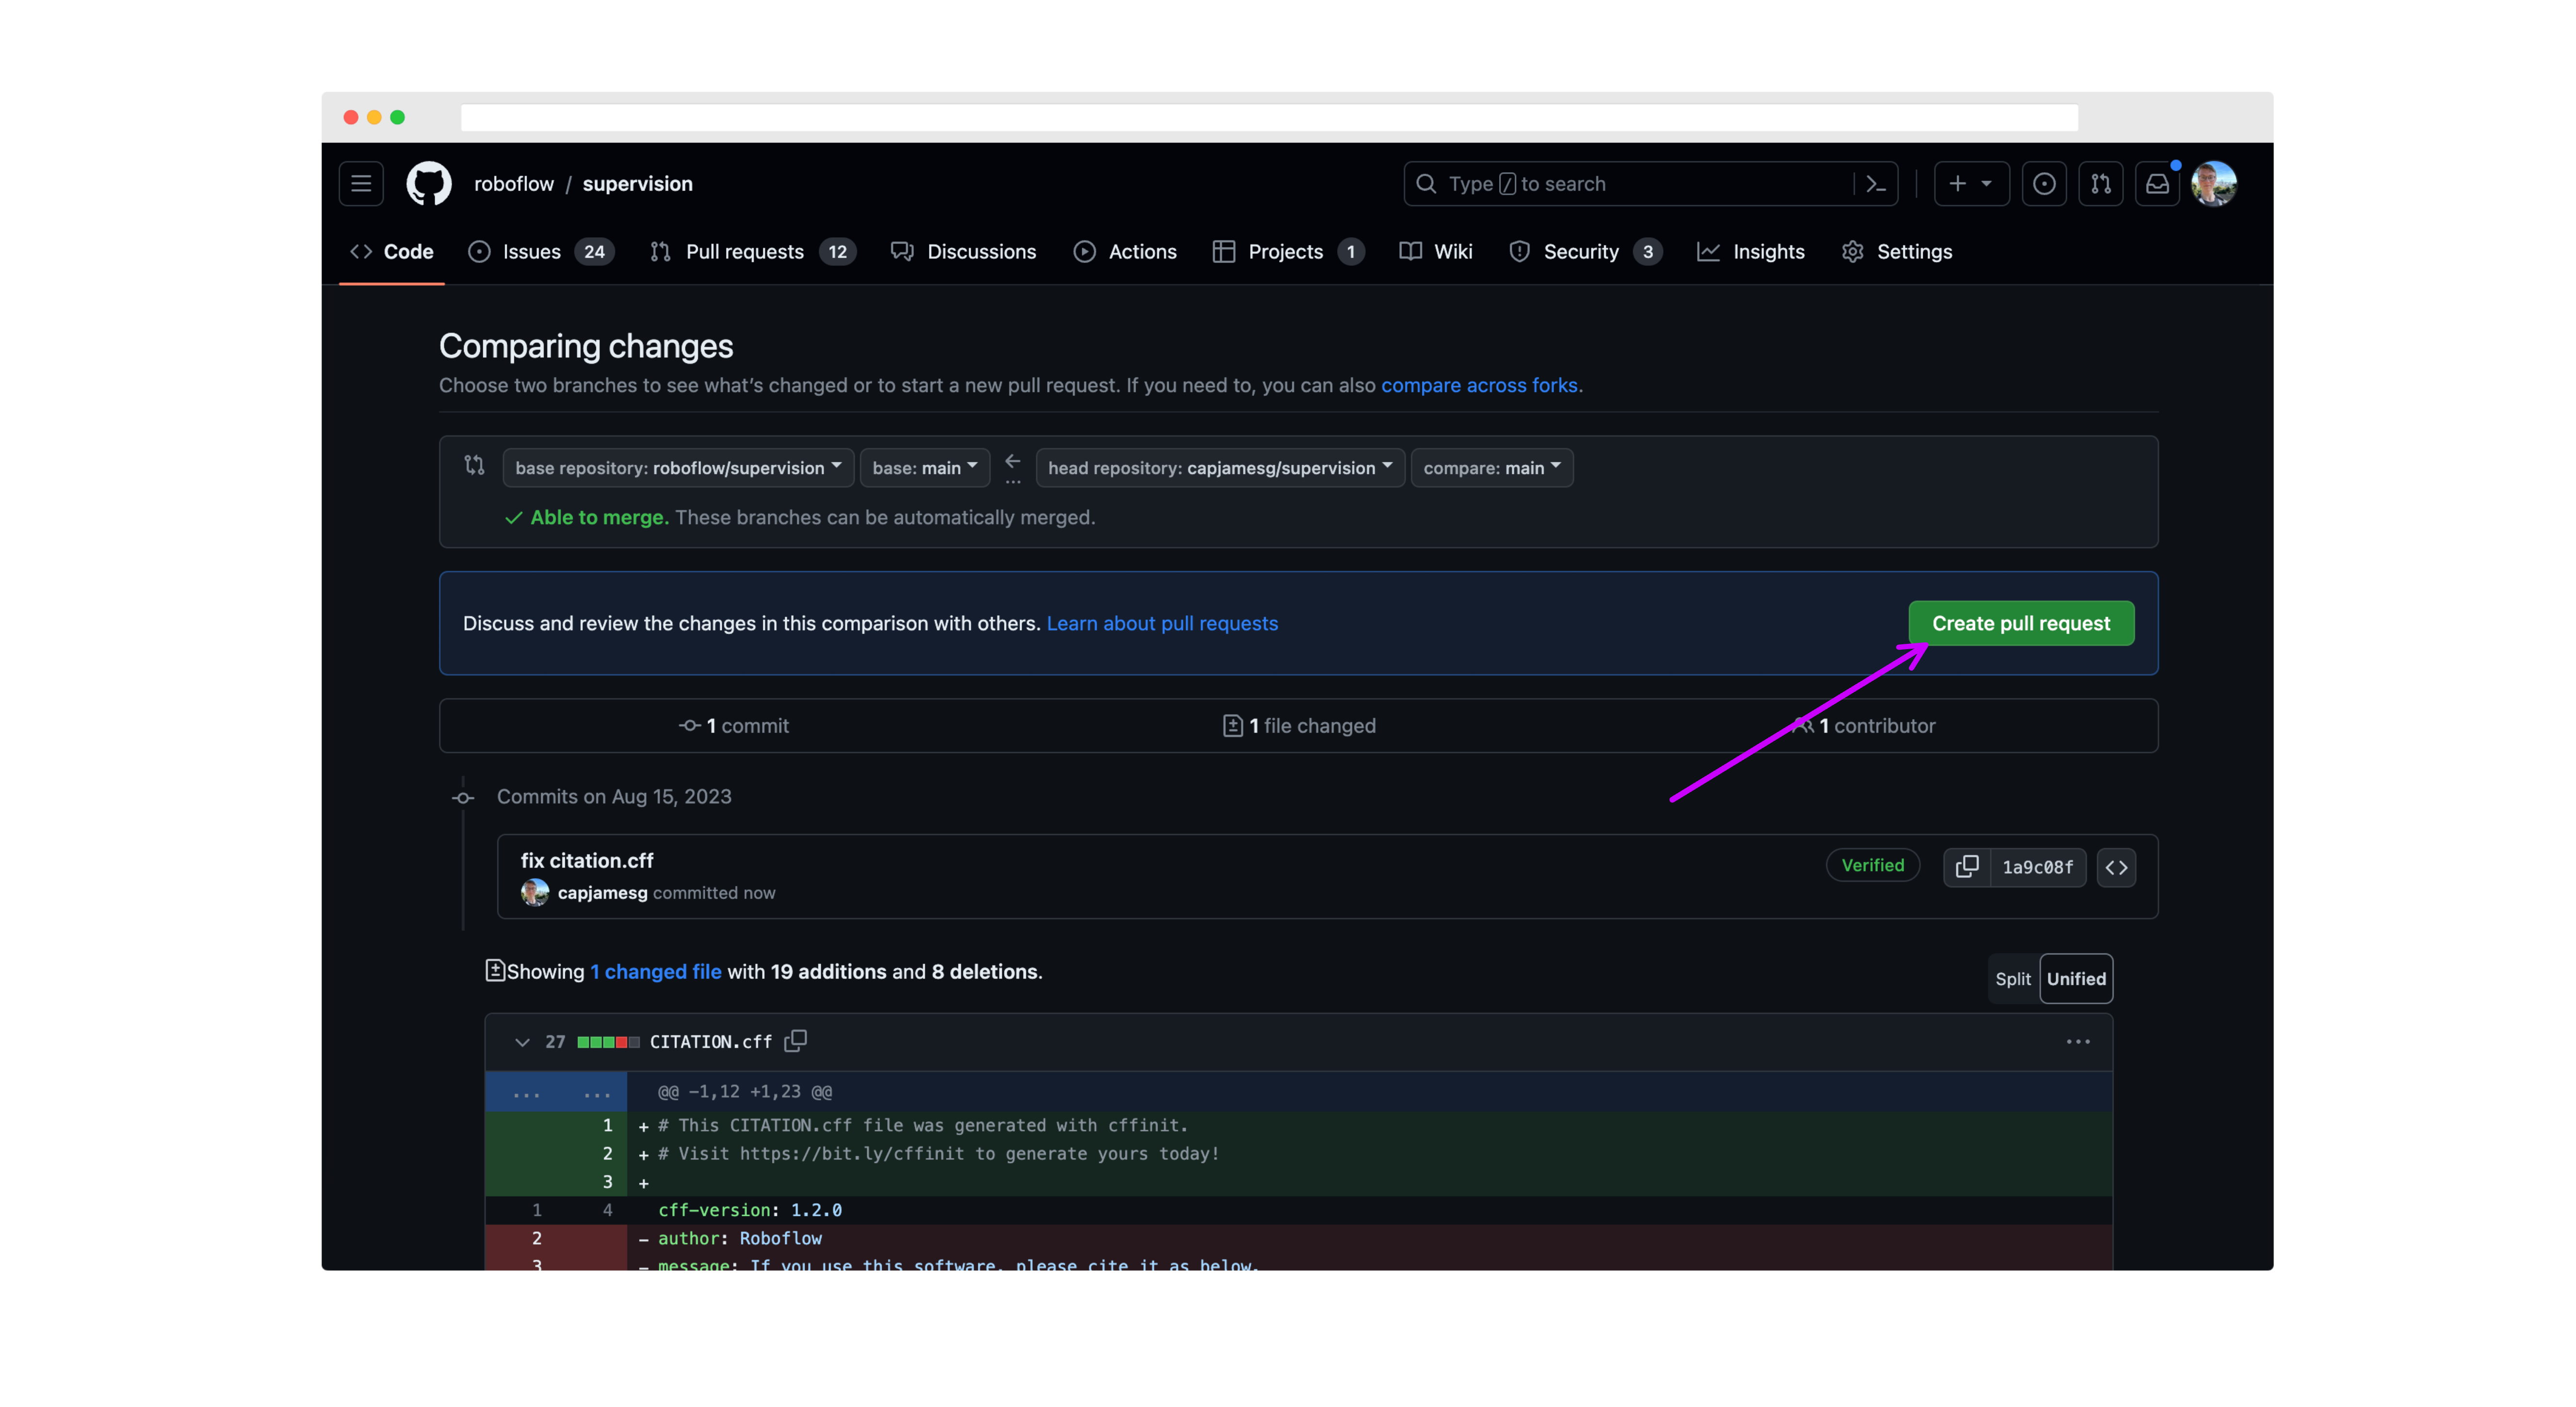
Then, go back to your fork of the supervision repository, click "Pull Requests", and click "New Pull Request".

Make sure the base branch is develop before submitting your PR.
On the next page, review your changes then click "Create pull request":
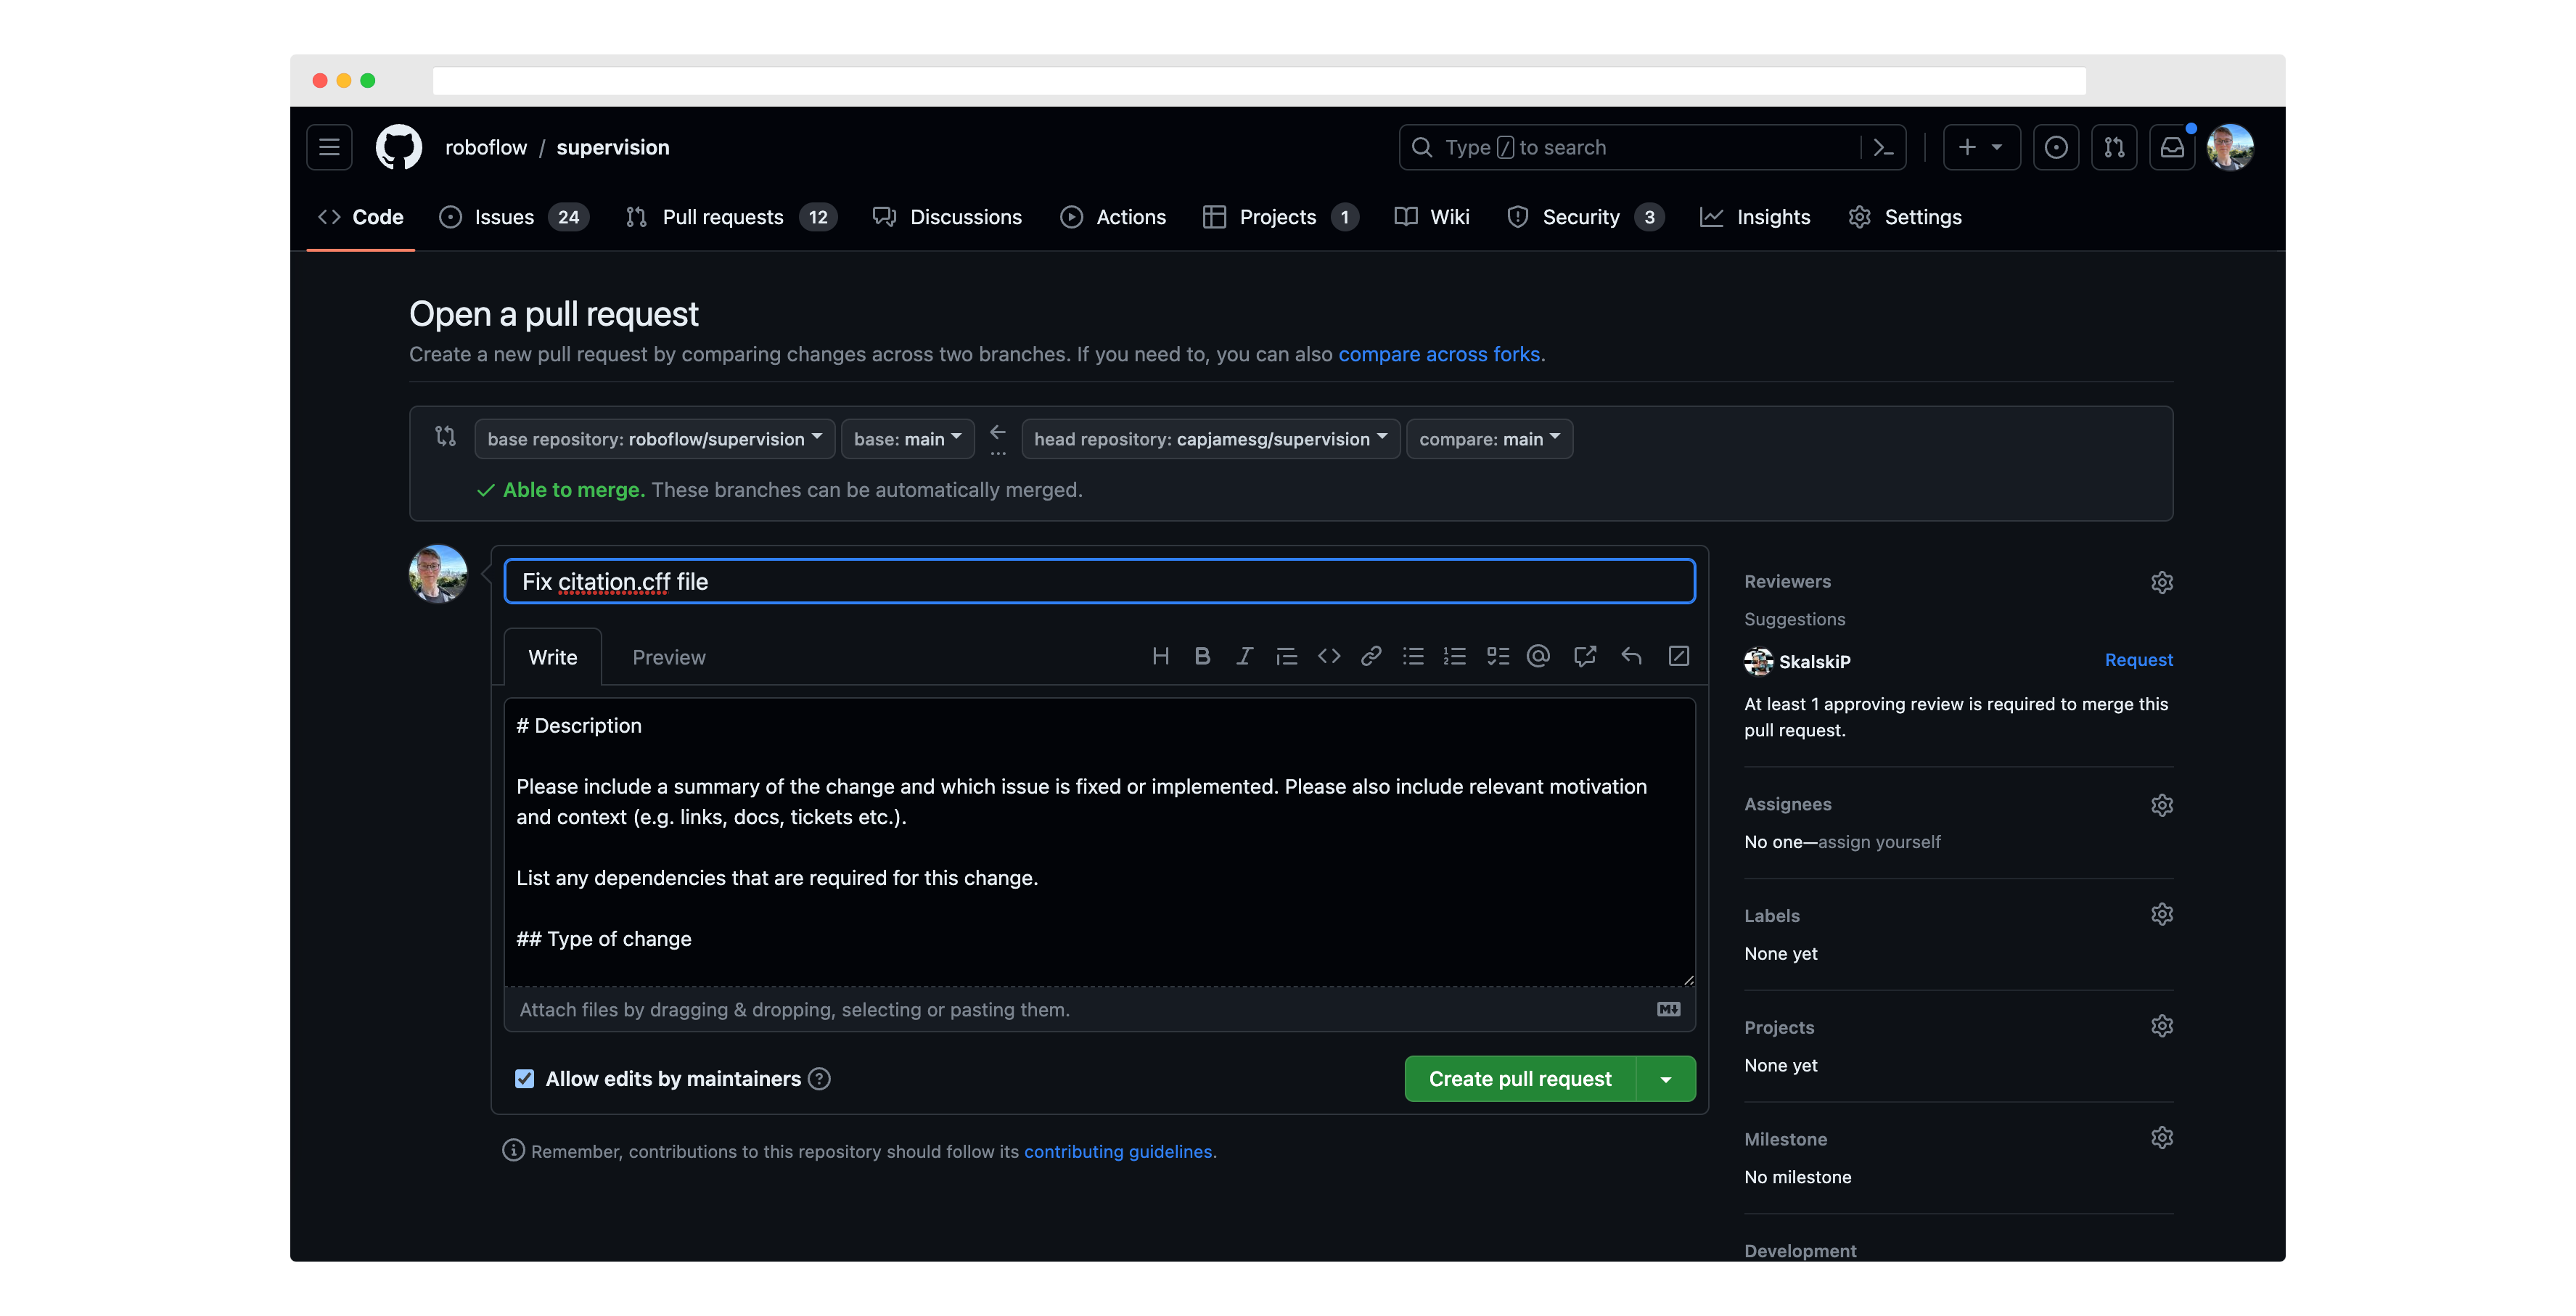
Next, write a description for your pull request, and click "Create pull request" again to submit it for review:
When creating new functions, please ensure you have the following:
- Docstrings for the function and all parameters.
- Unit tests for the function.
- Examples in the documentation for the function.
- Created an entry in our docs to autogenerate the documentation for the function.
- Please share a Google Colab with minimal code to test new feature or reproduce PR whenever it is possible. Please ensure that Google Colab can be accessed without any issue.
When you submit your Pull Request, you will be asked to sign a Contributor License Agreement (CLA) by the cla-assistant GitHub bot. We can only respond to PRs from contributors who have signed the project CLA.
All pull requests will be reviewed by the maintainers of the project. We will provide feedback and ask for changes if necessary.
PRs must pass all tests and linting requirements before they can be merged.
Installation for Contributors
Before starting your work on the project, set up your development environment:
-
Clone your fork of the project (recommended to use shallow clone of develop branch):
Option A: Recommended for most contributors (shallow clone of develop branch):
Replace
YOUR_USERNAMEwith your GitHub username.Note: Using
--depth 1creates a shallow clone with minimal history and-b developensures you start with the development branch. This significantly reduces download size while providing everything needed to contribute.Option B: Full repository clone (if you need complete history):
-
Create and activate a virtual environment:
-
Install
uv:Follow the instructions on the uv installation page.
-
Install project dependencies:
-
Run pytest to verify the setup:
🎨 Code Style and Quality
Pre-commit tool
This project uses the pre-commit tool to maintain code quality and consistency. Before submitting a pull request or making any commits, it is important to run the pre-commit tool to ensure that your changes meet the project's guidelines.
Furthermore, we have integrated a pre-commit GitHub Action into our workflow. This means that with every pull request opened, the pre-commit checks will be automatically enforced, streamlining the code review process and ensuring that all contributions adhere to our quality standards.
To run the pre-commit tool, follow these steps:
-
Install pre-commit by running the following command:
uv pip install -r pyproject.toml --extra dev. It will not only install pre-commit but also install all the deps and dev-deps of project -
Once pre-commit is installed, navigate to the project's root directory.
-
Run the command
pre-commit run --all-files. This will execute the pre-commit hooks configured for this project against the modified files. If any issues are found, the pre-commit tool will provide feedback on how to resolve them. Make the necessary changes and re-run the pre-commit command until all issues are resolved. -
You can also install pre-commit as a git hook by executing
pre-commit install. Every time you do agit commitpre-commit run automatically for you.
Docstrings
All new functions and classes in supervision should include docstrings. This is a prerequisite for any new functions and classes to be added to the library.
supervision adheres to the Google Python docstring style. Please refer to the style guide while writing docstrings for your contribution.
Type checking
So far, there is no type checking with mypy. See issue.
📝 Documentation
The supervision documentation is stored in a folder called docs. The project documentation is built using mkdocs.
To run the documentation, install the project requirements with uv pip install -r pyproject.toml --extra dev --extra docs. Then, run mkdocs serve to start the documentation server.
You can learn more about mkdocs on the mkdocs website.
🧑🍳 Cookbooks
We are always looking for new examples and cookbooks to add to the supervision
documentation. If you have a use case that you think would be helpful to others, please
submit a PR with your example. Here are some guidelines for submitting a new example:
- Create a new notebook in the
docs/notebooksfolder. - Add a link to the new notebook in
docs/theme/cookbooks.html. Make sure to add the path to the new notebook, as well as a title, labels, author and supervision version. - Use the Count Objects Crossing the Line example as a template for your new example.
- Freeze the version of
supervisionyou are using. - Place an appropriate Open in Colab button at the top of the notebook. You can find an example of such a button in the aforementioned
Count Objects Crossing the Linecookbook. - Notebook should be self-contained. If you rely on external data ( videos, images, etc.) or libraries, include download and installation commands in the notebook.
- Annotate the code with appropriate comments, including links to the documentation describing each of the tools you have used.
🧪 Tests
pytests is used to run our tests.
📄 License
By contributing, you agree that your contributions will be licensed under an MIT license.